User:Addyrielle/Tutorials/3dsMax2010
Contents
Rendering Eggs Using Autodesk 3ds Max 2010
A slight update to Ponytailguy's tutorial for version 7.
For this tutorial, you will need:
- To download and install 3ds Max.
- Download and save the 3ds Max egg model to your computer.
- Download and install Gimp.
- Microsoft Paint.
- Save the egg outline to your computer.
Placing a Flat Design onto an Egg, in Five Easy Steps
1. Open 3ds Max, and click the aqua-colored icon in the top left-hand corner of the screen.
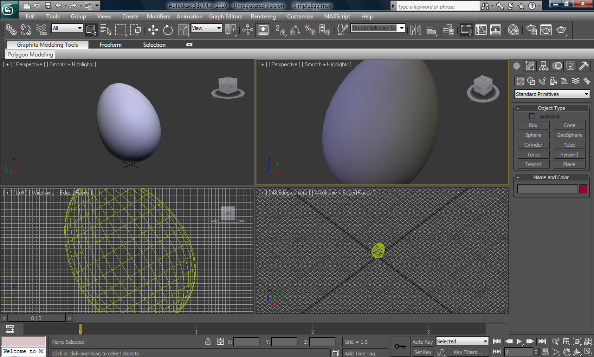
Choose Open, and find where you saved your 3ds Max egg model. Click Open. You should get something that looks a bit like the picture shown below. (Note: just select Continue if you get errors, and it seems to work anyway).
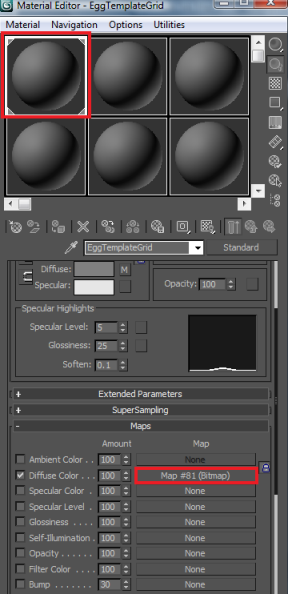
2. Click on the Material Editor icon, shown in the picture below.
This should bring up something that looks like the image below. Make sure there is a white box around the sphere in the top left corner. Click the box that says Map #81 (Bitmap) - It's next to where it says Diffuse Color (which should be ticked) as shown on the picture below.
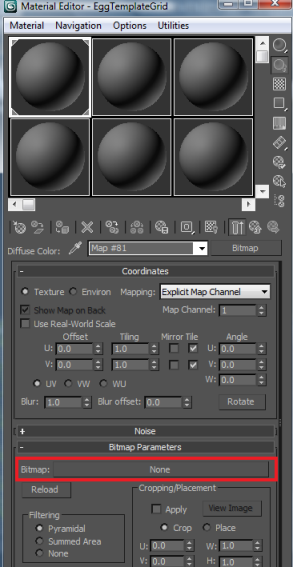
3. Click where it says None (see the picture below) and find and select your flat egg skin picture, and then click Open.
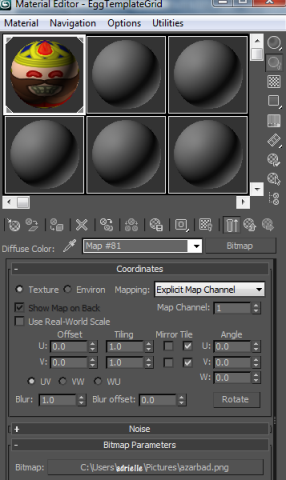
You should now see a little preview of your design on the top left sphere.
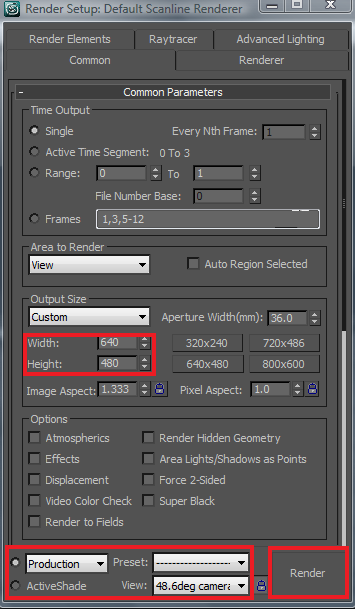
4. Press F10. The values with the red box around them on the picture below show what to do to give you the right size and viewpoint for your egg to fit the egg outline. However, you can also play around with different views to see your egg in different ways. When you are ready, click Render! (It will probably give some errors, but click Continue, and it still seems to work).
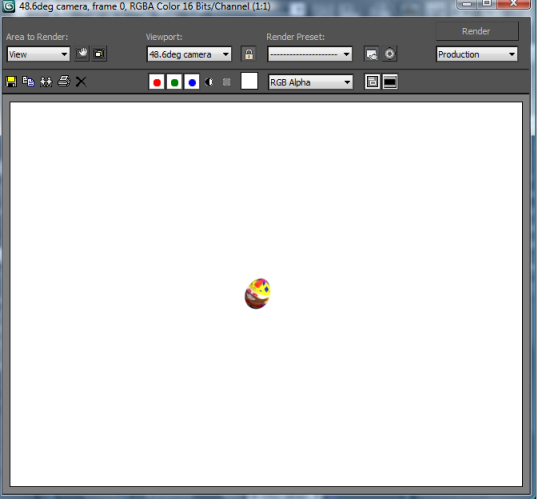
You should end up with something like this:
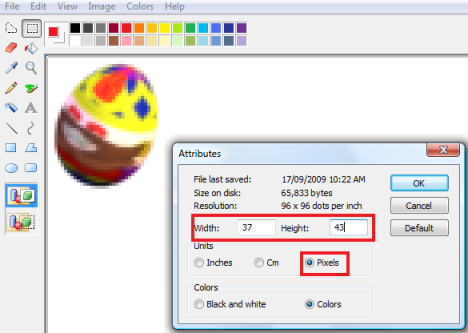
5. (For an updated version of step 5, see the bottom of this page). Press Print Screen, and open Microsoft Paint. Click Edit>Paste, then move your egg until it is two pixels from the top, and two pixels from the side border (you will need to zoom in). Change Image>Attributes to 37 x 43 pixels.
This should make your egg picture the exact right size to accomodate the egg outline. Save your egg picture as a .png file.
Adding the Outline
1. Open the egg outline image in Gimp. Choose Select>All, then go to Layer>Transparency>Color to Alpha to make the background transparent. This should give you an egg outline on a fully transparent background. Select>All, then Edit>Copy.
2. Open your egg picture (the one made in paint) in Gimp, and choose Paste. This should give you your egg, with a nice black outline.
Step 5 Update
(An easier way of completing step 5; brought to you by Patetch!)
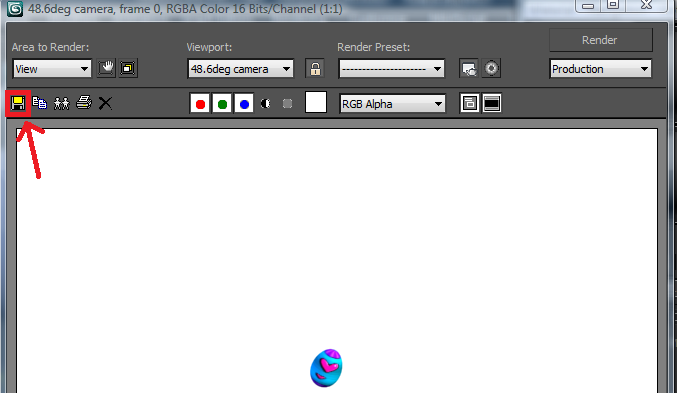
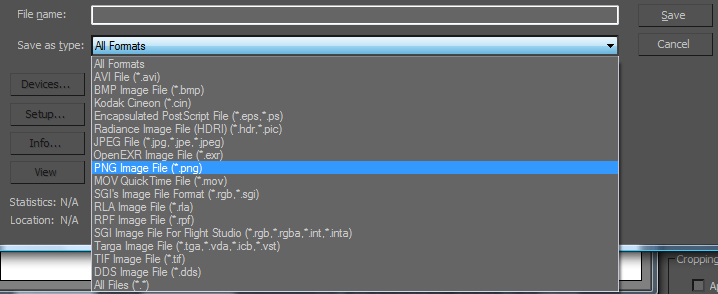
As an alternative to step 5, while still in the rendered egg window you reached at the end of step 4, choose "Save As" (rather than taking a screenshot).
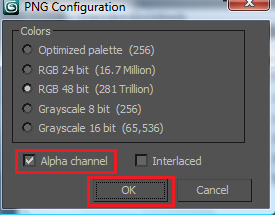
Save you file as a .png, making sure that the "Alpha channel" box is ticked in the dialogue box that comes up after you click "Save".
Then go to the folder you saved this image in, and right click on the image thumbnail or icon. Select "Open with Gimp." Once in Gimp, you can go to "Image", then "Autocrop Image", and it will crop the picture down so that you have just the egg with a transparent background. To add an outline to your egg, open this version of the egg outline in Gimp. Go to "Select" > "All", then go to "Edit" > "Copy". Going back to your egg image, go to "Edit" > "Paste" - it should fit right over the egg, giving it a black outline =D. Save your egg as a .png, and you are done!

