User:Gloraelin/editor stuff
Yohoho! Tools
This chart shows the steps you ake to get from a certain "tileset" (the 'START') to create another type of set (the 'FINISHED AREA'). For example, the first transition shown is from the sea to a beach - first you lay down white sand, then regular sand, and finally darker sand. If a set has a note in it like {this}, it means you find what's in the brackets and continue from the first step of that set. If you see a * in a start note, it means the finished area will be at least one tile wider than the original layout. When a tile is marked in bold, that is the actual edge tile - it's the one fringing with what you're building from/to.
Just a note: 'dirt area' is the one that will most likely become your shiny little friend - it blends with pretty much everything.
| START | STEP 1 | STEP 2 | STEP 3 | STEP 4 | STEP 5 | FINISHED AREA |
|---|---|---|---|---|---|---|
| SEA | White sand | Sand | Sand (darker) | -- | -- | BEACH |
| BEACH* | Rough Dirt | Dirt (crusty) | Dirt (bumpy) | -- | -- | DIRT AREA |
| BEACH* | Solid Rock | Rock (dark) | {DIRT AREA} | -- | -- | ROCK |
| BEACH | Dirt (brown) | Brush | Bushy | Grass | Grass (thick) | FOREST BED |
| DIRT AREA | Grass (thick) | Grass (patchy) | Grass | Grass (lite) | -- | GRASSY AREA |
Please note, for rock, you're really going to want to strategically place "real" rocks over it. This one is the only area I simply can't get a decent fringe going.
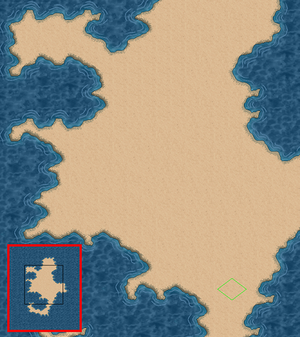
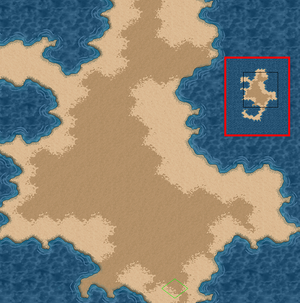
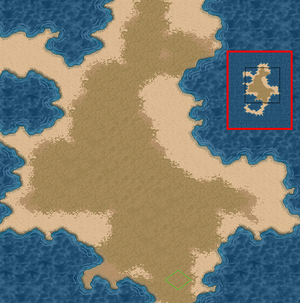
And now, pictures to really explain it!
- Step one: create a shape.
- Step two: move a smidge inland and lay out the beach.
- Step three: smooth & transition.
Please do not edit this page. Use the discussion page to address any concerns. It's a work in progress, pictures/more explainations to come shortly.
I'm still trying to work on it, and I'm still the only one I'd like working on this page, at least for now.


